Waterbomb Tessellation
by Tuğrul Yazar | January 23, 2013 02:18
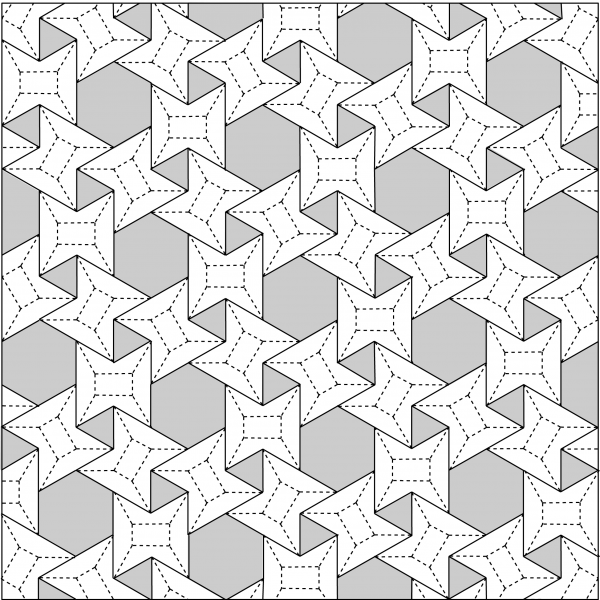
It all started with my new passion for origami tessellations, not much of origami, but the tessellation part. I was too lazy to fold it physically, nor model them using an engine such as Kangaroo. That would also be very unnecessary (and yes, very boring) to simulate a folding effort on the computer unless we lose our connection with the real world. Instead, I tried to look at a much more abstract, silly, and basic part of it; the creasing patterns. I found below a tessellation named “Waterbomb” by the beautiful source of Eric Gjerde[1] to start an exploration.
It quickly became a challenge for the dataflow environment (as I liked most). As you see, it has a regular triangular tessellation (grid) as an underlying system. We can quickly create a triangular grid in Grasshopper but telling it to pick the correct pattern of cells is a bit tricky, and became a data tree exercise by itself.
The Waterbomb
 [2]
[2]First, I tried to implement 3 hexagonal grids superimposed to find the locations of polygons. However, the distances between each hexagon were not very clear because of the slight angle there. Then I realized that there is a repeating pattern of 1s and 0s on the triangular underlay. If I count triangles from left to right, row by row; picking triangles and hexagons as 1, and leaving the other shape as 0, that would be a good starting point. I counted the cells and found this repeating pattern;
10000000000100111000011100
When I shift this pattern 7 cells to the left, It reflects one row below.
10000000000100111000011100
00001001110000111001000000
11100001110010000000000100
11100100000000001001110000
00000000010011100001110010
00100111000011100100000000…
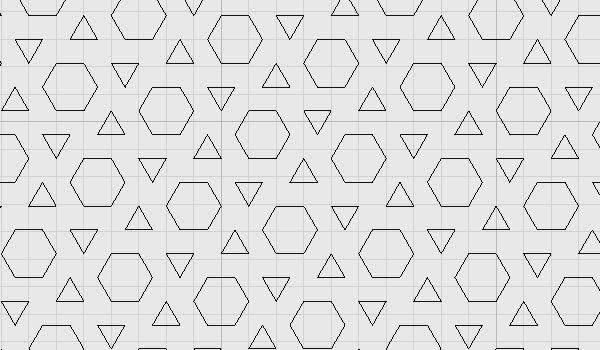
This goes on like that. The six 1s packed there represent the hexagons, while alone 1s represent the triangles. Repeating, flipping, and shifting created the above pattern in Grasshopper. (I’m sure if you play with this initial pattern, it would create very different compositions). The rest was very easy. Just create a triangular grid and apply the above pattern as a dispatching mask to see the hexagons and triangles.
 [3]
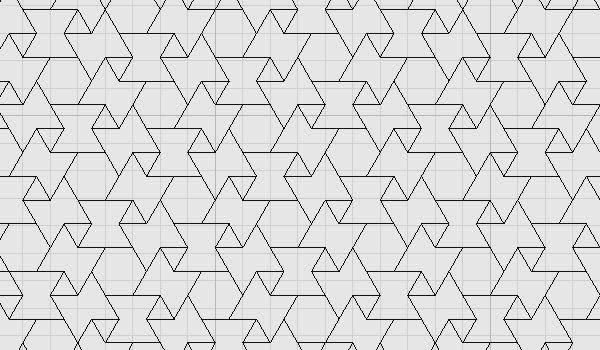
[3]At this point, I was just about to quit the experiment without drawing the extension lines you see in the pattern. However, this reminded me of the emergent shapes post a year ago (here). After a couple of dead ends, I realized it would be not that hard to tell Grasshopper to join those triangles as regions, explode them and count their number of vertices to understand which of them are hexagons, then explode those hexagons and extend one side of them for 1 triangular unit. It worked exactly as I thought. Above is the final definition: This is the final tessellation of Waterbomb:
More than Waterbomb Tessellation
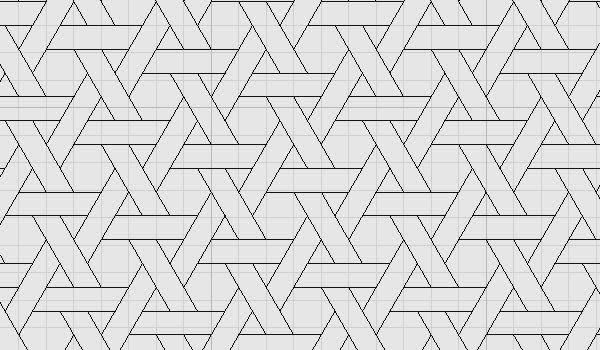
There are also further possibilities with this definition, which I’ll briefly present here. For example, when you switch the A and B’s of the dispatch components, this result appears:
Also, when you change the x value, the shifting pattern gets crazy and sometimes creates these results (at x=46 precisely):
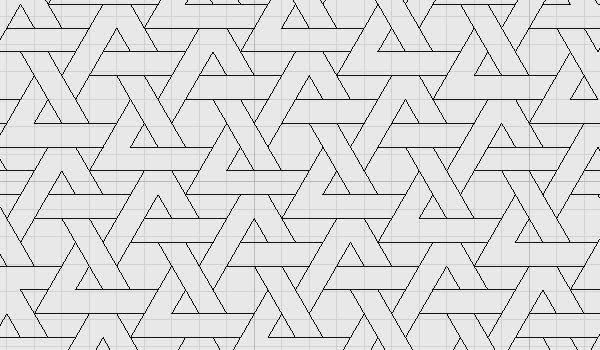
When you hide final triangles and extend hexagons 2 units (instead of 1), this happens:
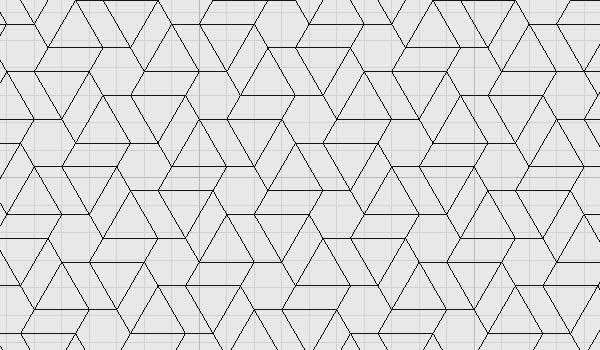
You can rebuild the definition by looking at the definition above. However, if you want to support this website by downloading my Grasshopper file; would you consider being my Patreon? Here is the link to my Patreon page[4] including the working Grasshopper files for the Waterbomb Tessellation and more.
- Eric Gjerde: http://origamitessellations.com
- [Image]: https://www.designcoding.net/decoder/wp-content/uploads/2013/01/3636-WBFS-tessellation-Crease-Pattern_301903612_o.png
- [Image]: https://www.designcoding.net/decoder/wp-content/uploads/2013/01/2013_01_23-water-def.jpg
- Here is the link to my Patreon page: https://www.patreon.com/posts/waterbomb-85331006?utm_medium=clipboard_copy&utm_source=copyLink&utm_campaign=postshare_creator&utm_content=join_link
Source URL: https://www.designcoding.net/waterbomb-tessellation-and-beyond/