Spiral Staircase
by Tuğrul Yazar | April 17, 2023 15:41
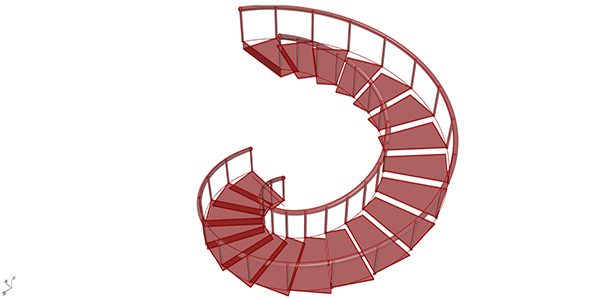
This is a basic Grasshopper exercise, covering many fundamental topics. The aim is to create the parametric model of a spiral staircase. This is more educational than functional,[1] I guess. Below is the explanation of the Grasshopper definition in three parts.

Helix Points for the Spiral Staircase
In the first part of the definition, I am defining the points ordered on a helix. First, I calculate the number of steps by dividing the total height value by the height of each step (14). This gives me the total number of points I will generate. Then, I use a Point Cylindrical (Pt) component to place those points in a helix-like order. The two Range (Range) components are responsible for creating the series of numbers for that. The A input picks up the range of numbers from 0 To 2 pi. The E input (Elevation) gets values from 0 to the total height.
Moreover, the two radii (r1 and r2) are fed to the same component as “Grafted”. This creates not one but two point sets. Because since all the other values are only 1-branch data lists, these grafted data trees will be processed twice for the rest of the values.
 [2]
[2]Drawing the Curves
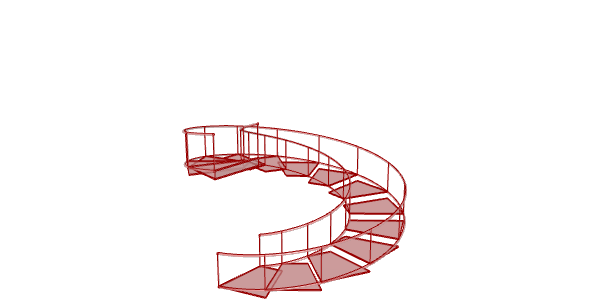
In the second part, I use the point lists to draw the details of the spiral staircase. First, I draw an Interpolate (IntCrv) to draw the curve of the beams that will carry the steps. Then, I place Explode Tree (BANG!) and Line (Ln) components to draw the lines for the opposite matching points.
I could also do that with a Flip Matrix (Flip) component. Flip Matrix (Flip) turns a data tree upside down so that its columns are rows and rows are columns. As a result of this operation, we would obtain a data tree with many branches, each consisting of two points, each of which is a start and an endpoint. It is possible to use the List Item (Item) component to obtain these two data in each branch in the form of a separate list. Thanks to the ZUI (Zoomable User-interface) feature included in this component, it is provided to get the data list in the index +1, that is, in addition to i, that is, 0, by approaching the screen. However, I used Explode Tree (BANG!) instead here.
This gave me the front side of the steps. For the back side of them, I used the front line one step above. To do that I used the Move component to copy the lines in -z direction by the step height. In addition, I added the railing lines by connecting the points with their copies 60 units in the +z direction. Here, I do that with a Point Oriented (Pt) component. However, I could also do that with a Move component. To complete the railing curve, I added another Interpolate (IntCrv) here. In this section, it is also possible to use Polyline (PLine) instead of Interpolate (IntCrv) for a different result.
Finishing the Spiral Staircase Surfaces
Now let’s examine part three, where we model the rungs of our spiral staircase. All indices are reduced by one unit by deleting the first of the lines that are Moved down by the Cull Index (Cull i) component. If you remember Grasshopper’s principle of matching lists of data, deleting the first element of one of the lists and reducing the indices of the other elements by one would mean that in such a reciprocal match, each data (line) would match the one below the list. By experimenting a bit, you will see that the Edge Surface (EdgeSrf) component we will use needs this kind of match in order to make the step surfaces we want. You can try and see what would happen if we didn’t use the Cull Index (Cull I).
In the last step of the application, the Extrude (Extr) component is used to give some thickness to the steps installed as the surface. In addition, I added two Pipe components for making the surfaces of the railings.

You can re-build the definition by looking at the image above and the explanation. However, if you liked this content and want to support this website by downloading my Grasshopper file; would you consider being my Patreon? Here is the link to my Patreon page [3]including the working Grasshopper files for the Spiral Staircase and more.
- functional,: https://www.dezeen.com/tag/spiral-staircases/
- [Image]: https://www.designcoding.net/decoder/wp-content/uploads/2023/04/2023_04_17-stairs-def-2.png
- Here is the link to my Patreon page : https://www.patreon.com/posts/spiral-staircase-81638842?utm_medium=clipboard_copy&utm_source=copyLink&utm_campaign=postshare_creator&utm_content=join_link
Source URL: https://www.designcoding.net/spiral-staircase/